Sponsors

Fix Dark Areas in the Corners of My Image?

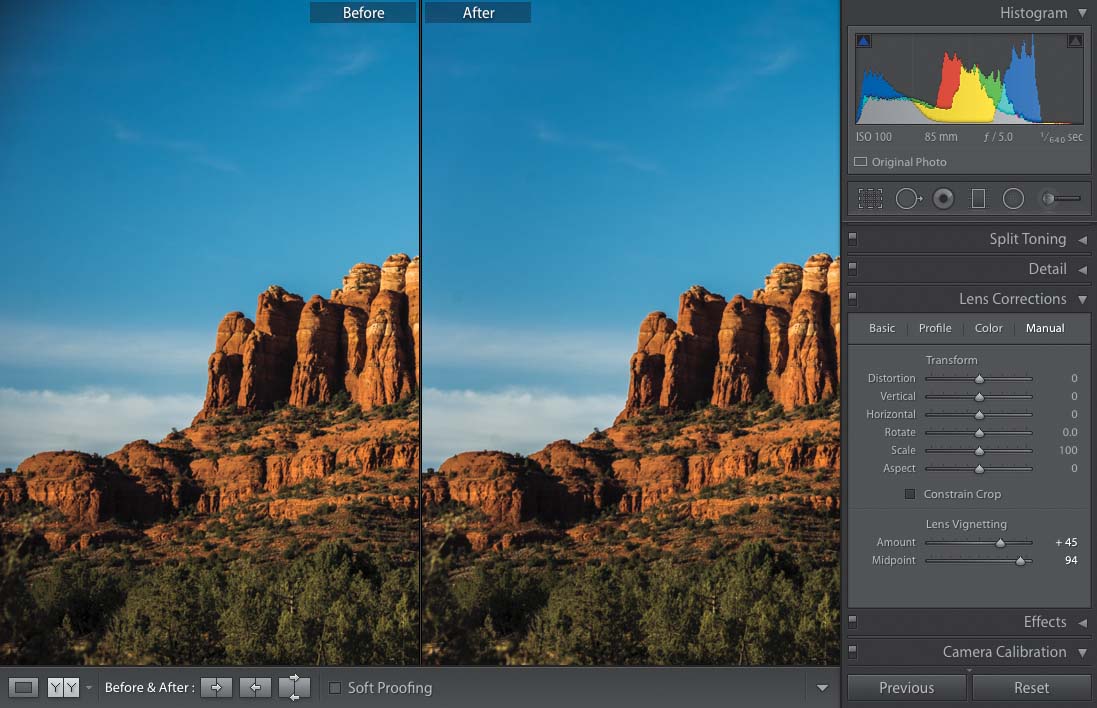
To get rid of edge vignetting (a problem caused by your lens), go to the Lens Corrections panel (in the Develop module’s right side Panels area), click on the Profile tab, and turn on the Enable Profile Corrections checkbox (your lens make and model should appear in the pop-up menus below. If it doesn’t, just choose it yourself). That will often fix the problem right there, but if it doesn’t quite do the trick, there’s a Vignetting slider in the Amount section that lets you fine-tune the amount, so try that and see if it helps. If that still doesn’t do the trick, then you’ll have to do it manually: Click on the Manual tab and near the bottom, you’ll see two Lens Vignetting sliders. Drag the Amount slider to the right to brighten the corners of your image, removing the vignetting problem. The next slider, Midpoint, controls how far your edge brightening extends into your image. If it’s just right up in the corners, then drag the slider way over to the right. If it’s a bit farther out, you might have to drag it to the left (basically, just drag the Midpoint slider back and forth a few times and you’ll see what I mean).


