Sponsors

Make an HDR Image?

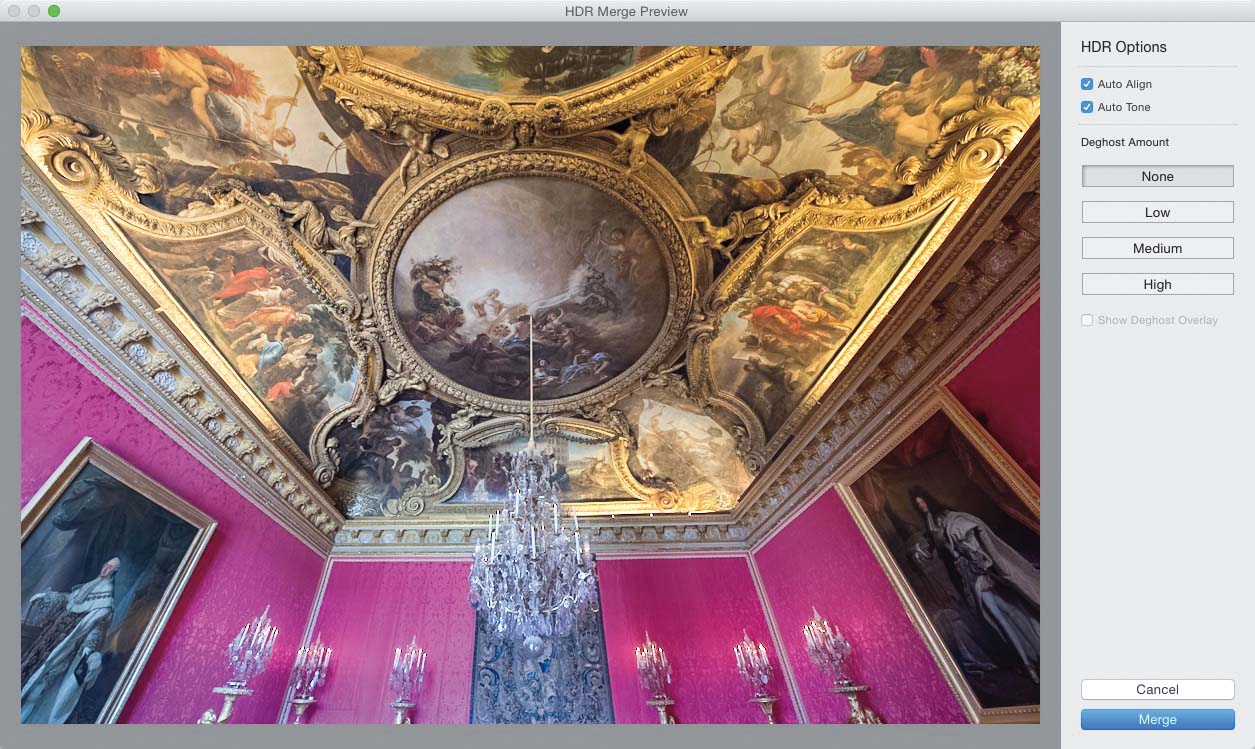
In the Library module’s Grid view, Command-click (PC: Ctrl-click) on the bracketed images you want to combine into a single HDR (High Dynamic Range) image. (Tip: This feature works best using just two images: your two stops underexposed and your two stops overexposed images. You can ignore the normal exposure, and any other exposures you took, as well.) Now, go under the Photo menu, under Photo Merge, and choose HDR. In a few moments, the HDR Merge Preview dialog will appear (seen above) and show you a preview of how your merged HDR image will look. Turn on the Auto Align checkbox, at the top right, if you hand-held the multiple exposures, and it will try to align the images for you (it does a pretty amazing job at it). Turning on the Auto Tone checkbox applies an automatic toning of the image, so it looks better (it usually does with HDR images like this, but not always. Luckily you see a preview, so if it doesn’t look good, turn it off). If you see any ghosting (where something or someone moved during your exposures), choose the Deghost Amount that fits the amount of motion (again, you can click on each to see which one looks best and just go with that). When it looks good to you, hit the Merge button and it processes the images now at full resolution. When it’s done, you’ll see a new file appear next to your originally selected images with HDR.dng at the end of its name. Now you can finish off the image using the regular controls in the Develop module. (Tip: HDR shots usually like a little bit of Clarity. Well, mine do, anyway.) 😉


