Sponsors


Make My Photo Black & White?
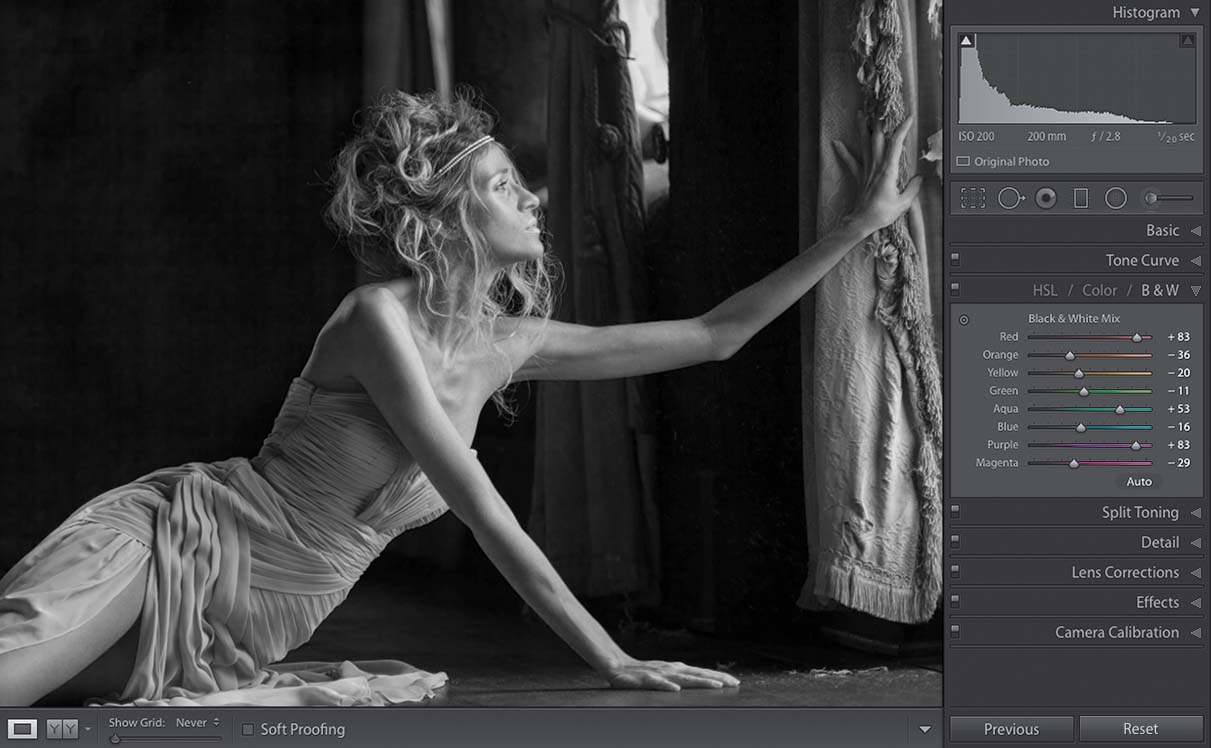
In the Basic panel (in the Develop module’s right side Panels area), near the top right of the panel, click on the words “Black & White.” That’s the one-click method. If you want to take things a little further, skip that step (leave your photo in color), and scroll down to the HSL/Color/B&W panel and click directly on B&W in the panel header to bring up the black-and-white conversion sliders (when you do this, it automatically converts your image to black and white). The sliders you see are to tweak how each color is treated when it’s converted to black and white, and since you’re working in black and white (instead of color), believe it or not, the best way to see how each slider affects the image is simply to drag each one back and forth. You’ll instantly see how it affects the image and you can decide where the best spot is for each (don’t be surprised if some of the sliders don’t do anything, it just depends on the colors in your particular image). Also, when you’re done there, go back to the Basic panel and: (1) increase the Contrast amount. A lot. (2) Add Clarity, usually a lot. And, (3) drag the Shadows slider to the right a bit to bring back detail in areas that may have turned solid black. If it starts to look too light in those areas, drag the Contrast slider even farther to the right.