Sponsors


Compare Two Photos Side by Side?
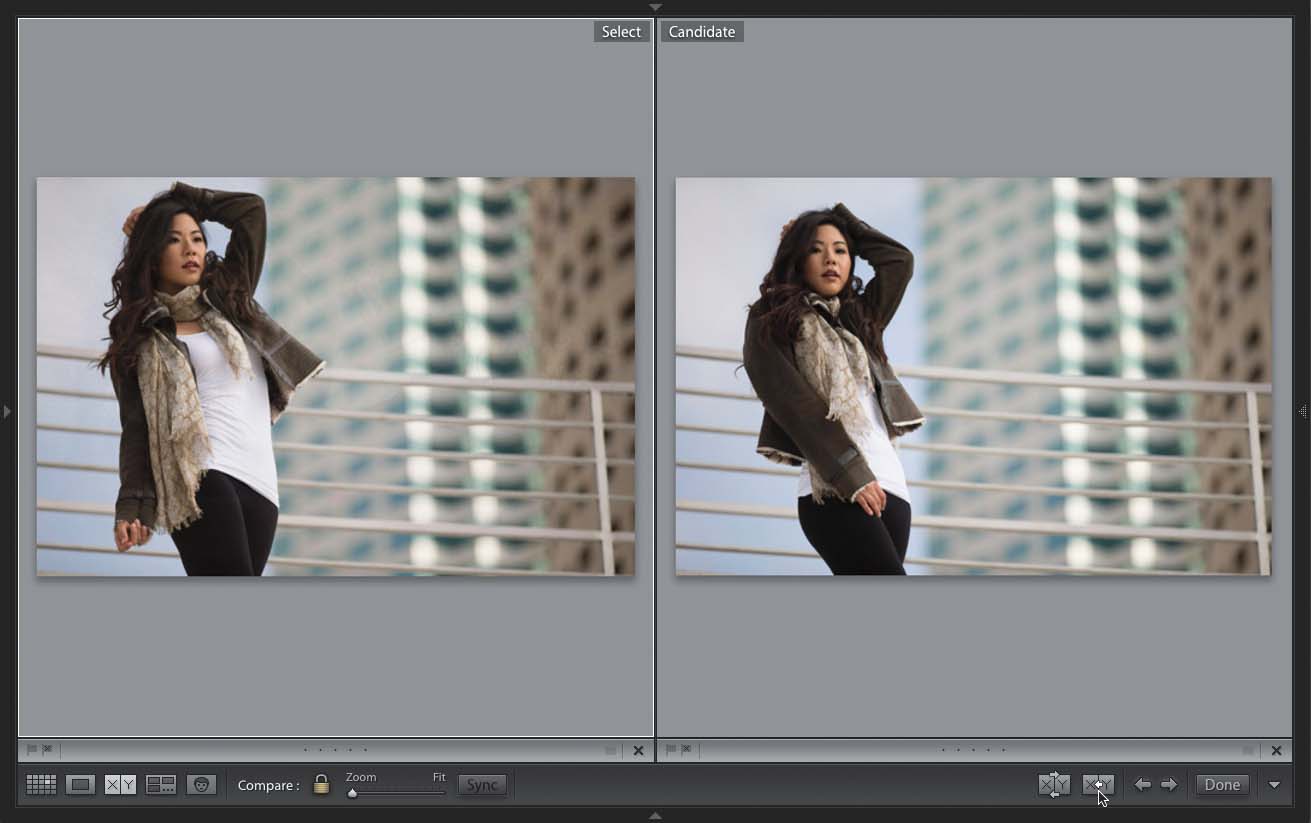
If you want to look at two similar photos side by side, just select both photos and then press the letter C on your keyboard. When you’re done, press G to return to Grid view, and you’re all set. When you press C, it puts the selected photos in Compare view, which is actually a step up from just putting two images side by side (but if just seeing them side by side is all you want, then you don’t have to read any further). Compare view was designed to help you narrow things down to find the very best single photo out of a group of similar photos. It starts with the first two photos you selected: on the left is the Select image (which means it assumes so far this is the best image out of the bunch), and on the right is the Candidate (which is the photo hoping to beat the Select). Now, look at the two images. If the one on the right—the Candidate—is indeed a better photo than the one on the left, then you can go down to the toolbar beneath the Preview area and click the Make Select button (shown circled above). This moves that image on the right over to the left, making it the Select (the best photo), a new Candidate (the next image you’d selected) appears, and you compare the two again. If the Candidate isn’t as good as the Select, then you’ll just press the Right Arrow key (either in the toolbar or on your keyboard) to move the next Candidate into place. That’s the process: If the Candidate looks better than the Select, you click the Make Select button and it becomes the image to beat. If not, you press the Right Arrow key. You’ll keep doing this until you’ve run out of selected images, and then the image on the left at the very end is the best image in that group. It’s like a tennis match using brackets. At the end, only one player (in this case, image) is left and that’s the champ.