Sponsors


Make My Own Custom Template?
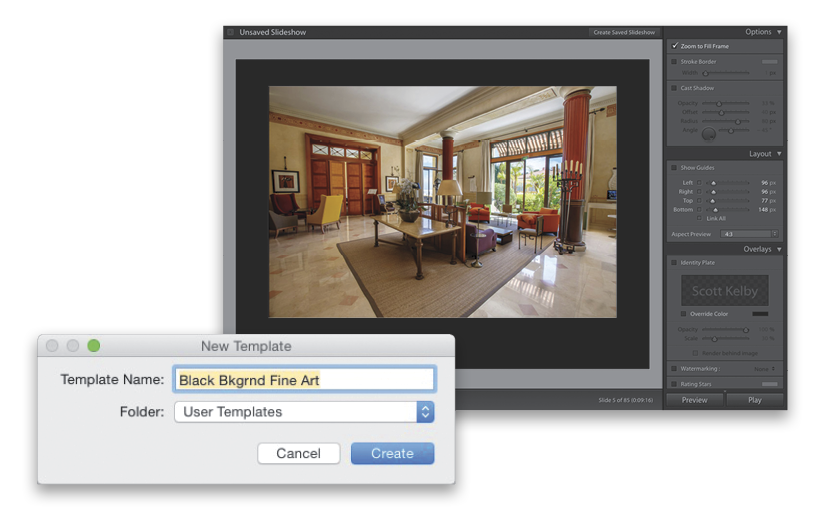
In the Template Browser (in the Slideshow module’s left side Panels area), click on a template to get started (I started here with the one I used on the previous page, Caption and Rating), and then use the panels in the right side Panels area to change, reposition, and turn on/off things you want (or don’t want) to appear on your slide. For example, the first thing I did here was change the aspect ratio of my slide show to 4:3 (from the Aspect Preview pop-up menu, at the bottom of the Layout panel). Then, I went to the Backdrop panel, turned off the Color Wash checkbox (the gradient it used in the background), and set the Background Color to black. I then went to the Overlays panel and turned off both the Rating Stars and Text Overlays checkboxes. Then, since my image would be appearing over a solid black background, I went up to the Options panel and turned off the Stroke Border and Cast Shadow checkboxes. Lastly, I wanted more of a fine art layout for my image (leaving more space at the bottom than the top), so I went to the Layout panel, clicked on Link All to unlink the margins, and moved the Bottom and Top cell borders up, which shifted the image higher on the page, and the Left and Right borders out a bit. Once you have yours looking how you like it, go over to the Template Browser, and click on the + (plus sign) button on the far right of the panel header to save this layout as your own custom template (the New Template dialog is shown in the inset above). Your template will now appear under User Templates in the Template Browser, so it’s always just one click away.