Sponsors


Shoot Tethered into Lightroom?
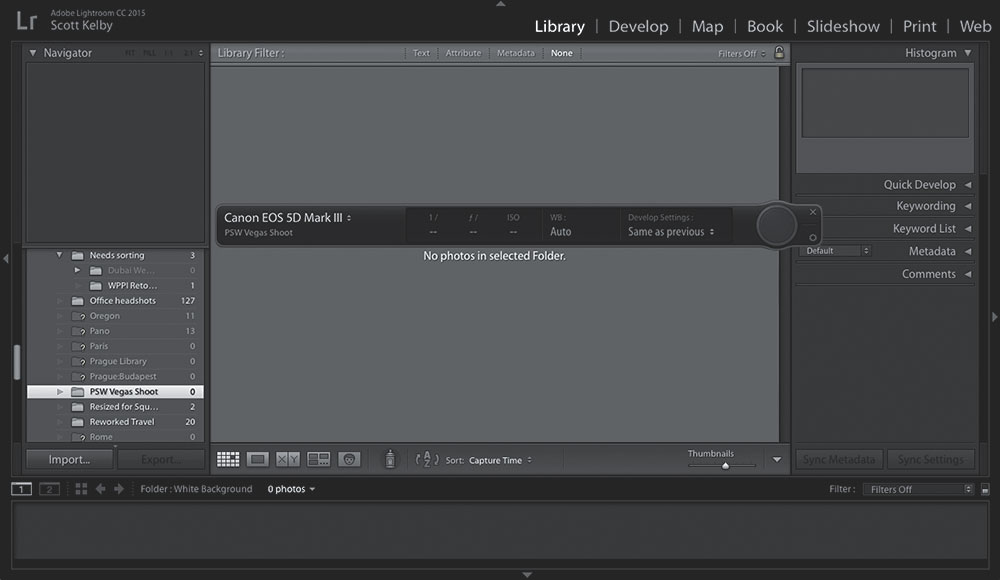
Once your camera is connected to your computer (using the USB cable that came with your camera), go under Lightroom’s File menu, under Tethered Capture, and choose Start Tethered Capture. This brings up a dialog where you choose where you want these images to be stored, and what to the name the folder, and stuff like that. Click OK, and the Tethered Capture “heads-up display” (HUD, seen above) appears. If Lightroom sees your camera, you’ll see your camera’s name appear on the left side. If it doesn’t see it, and you see “No Camera Detected” instead, turn the page and read my Troubleshoot Tethering tips (they will come in handy because Lightroom’s tethering is finicky). Once your camera appears in the Tethered Capture HUD, you can hide it from view by pressing Command-T (PC: Ctrl-T). Now when you take a picture, the image will appear in Lightroom (make sure you double-click on the image to make it much larger, or you’ll miss out on the main advantage of shooting tethered, which is seeing your images dramatically larger than you would on the tiny 3″ LCD screen on the back of your camera). I also press Shift-Tab to hide all the panels, so the image is even bigger on my screen. A couple of quick tips: The images come into Lightroom faster if you shoot in JPEG mode, since the file sizes are much smaller (so it takes less time to transfer from the camera to your computer). If you’re shooting a Canon camera while you tether, it also writes a copy to your camera’s memory card. Nikons don’t—the images only go into Lightroom.